
We all know how annoying it can be when Windows Hello prompts us to register our devices constantly. Although Windows Hello offers greater security and a convenient way to log in without passwords, it can sometimes be an unnecessary distraction for users and organizations that do not need this advanced functionality. Fortunately, it is possible to disable Windows Hello for Business using Microsoft Intune. Here, we explain how to do it step-by-step.
Disabling Windows Hello for Business for my entire organization
1. Access the Microsoft Endpoint Manager.
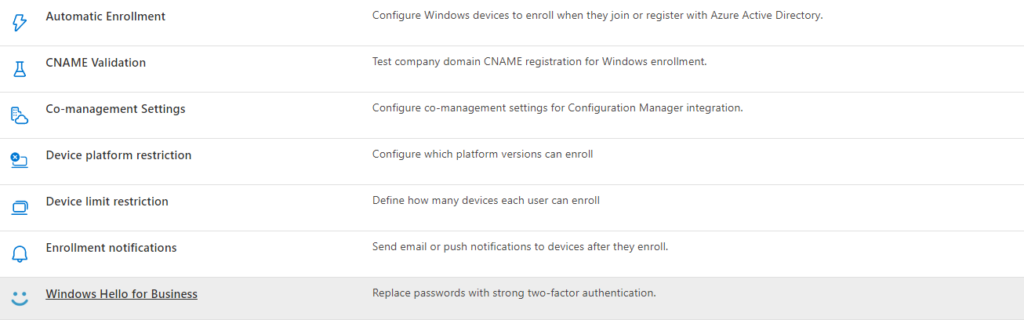
2. In the left pane, click on Devices and then on Windows. Next, select Windows Enrollment and finally, Windows Hello for Business.

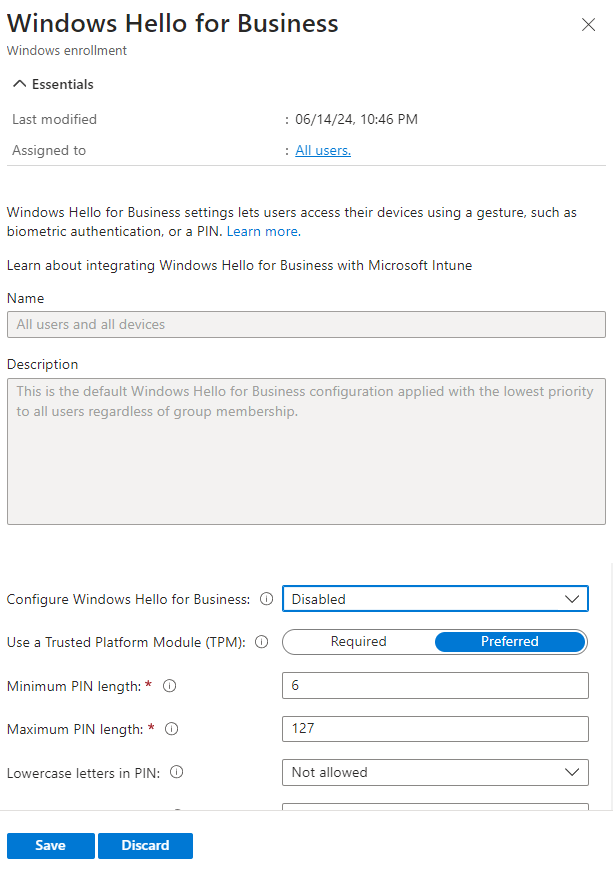
3. A window with various settings will appear. In the section that says Configure Windows Hello for Business:, set the status to Disabled and click on Save.
Disabling Windows Hello for Business for a specific group of devices or users
1. Access the Microsoft Endpoint Manager.
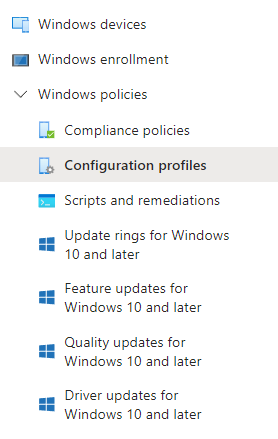
2. In the left pane, click on Devices, then Windows, and select Configuration Profiles.
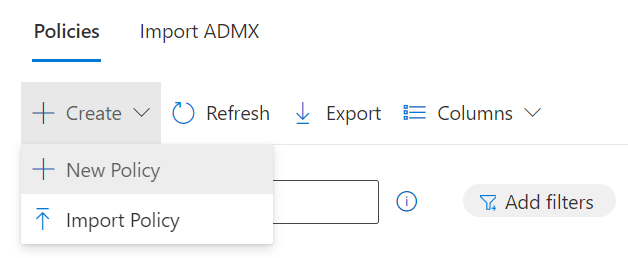
3. Click on Create and choose New Policy.
4. Select Windows 10 and later as the platform.
5. Then, choose Templates as the profile type you want to create, and afterward, select Identity Protection.
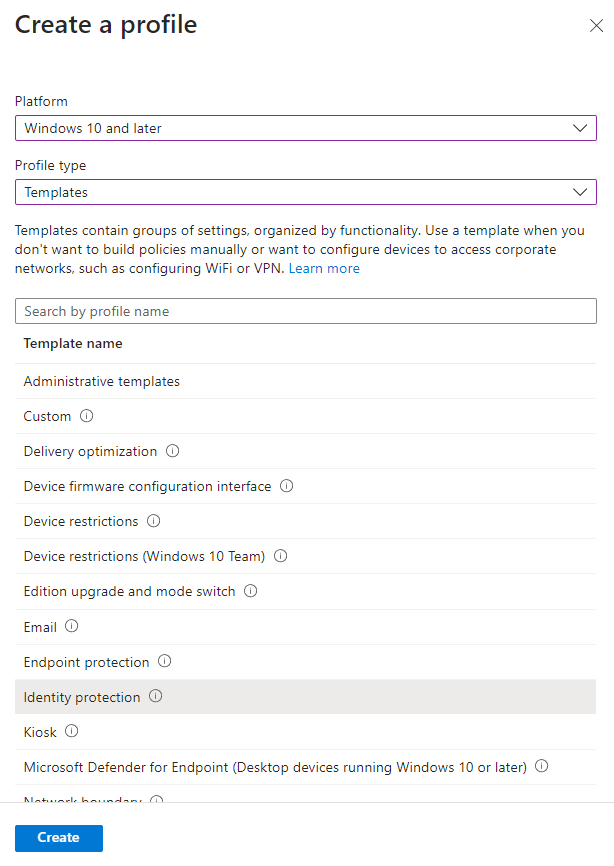
6. Click on Create..
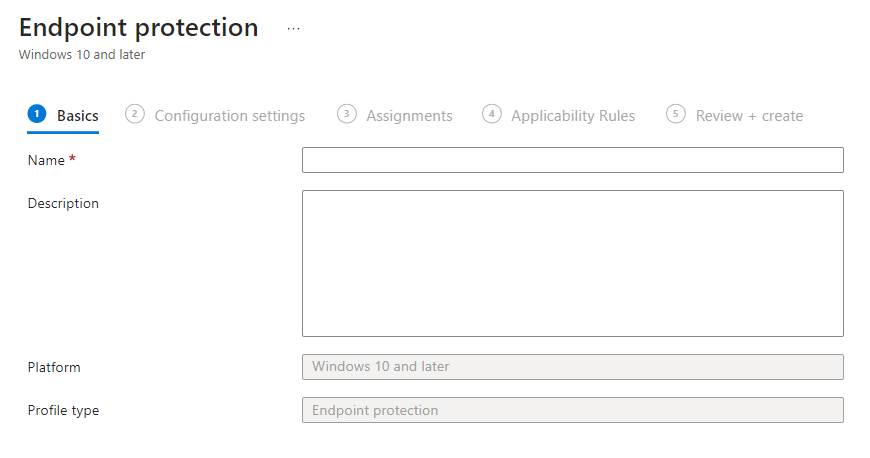
7. In the Basics section, assign a name to the profile.
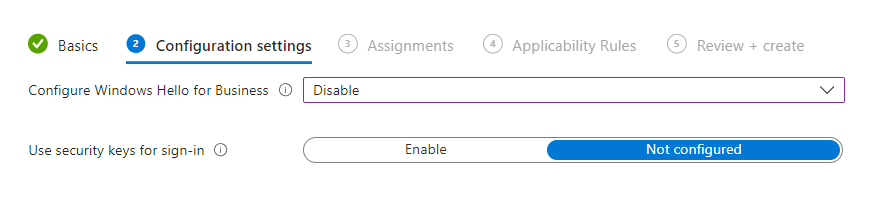
8. Next, in Configuration Settings, go to the Configure Windows Hello for Business section and choose Disable. Then, click Next.
9. In the Assignments section, select the device group or groups where you want to apply all the established settings.
10. Finally, review all the settings before proceeding and click on Create.